Bootstrap Checkbox Label
Overview
From time to time the elementary items might actually become very essential-- especially when you get to need them. For example precisely how do your visitors communicate with the webpages you set up specifying a basic Boolean act-- simply yes or no concerning some of the questions you require to request, just how they do consent to the conditions or line up a handful of the attainable options they might possess. We usually get past this without paying a lot of an recognition to the component accountable for these sorts of activities but the Bootstrap Checkbox HTML is certainly a really serious element-- one our forms can not really perform without.
Located in the most updated fourth edition of the Bootstrap platform we are presented with the
.form-check.form-check-label<div>.form-check.form-check-label<label><input>.form-check-inputEffective ways to make use of the Bootstrap checkbox:
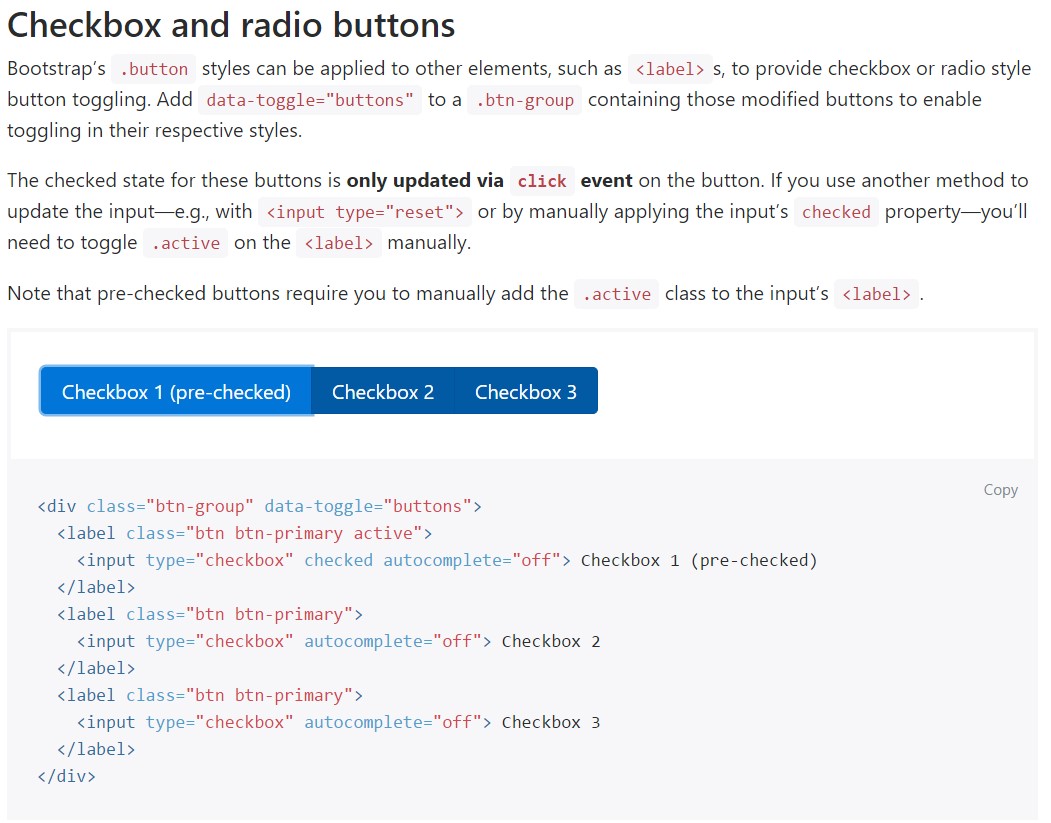
The checked status for all of these buttons is only up-dated by using click event on the button. If you make use of one more solution to modify the input-- e.g., with
<input type="reset">.active<label>
<div class="btn-group" data-toggle="buttons">
  <label class="btn btn-primary active">
    <input type="checkbox" checked autocomplete="off"> Checkbox 1 (pre-checked)
  </label>
  <label class="btn btn-primary">
    <input type="checkbox" autocomplete="off"> Checkbox 2
  </label>
  <label class="btn btn-primary">
    <input type="checkbox" autocomplete="off"> Checkbox 3
  </label>
</div>
Sometimes we need the checkboxes to take place in our forms without the customer really having the ability to get any sort of activity clicking on them-- that is actually where the disabled option appears.
Just to disable properly a checkbox in Bootstrap 4 employing the common HTML attribute
disabledOn the occasion that you enjoy the concept and in fact really want to carry this out you really should assign the
.disabled.form-checkA different scenario
If applying checkboxes, wrap all of them in a
<label>.custom-control.custom-checkboxEmploy
.custom-control-input<input>As well employ two
<span>.custom-control-indicator.custom-control-description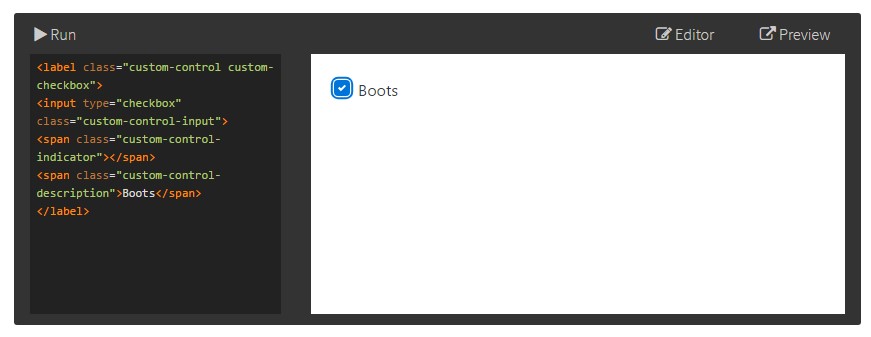
<label class="custom-control custom-checkbox">
<input type="checkbox" class="custom-control-input">
<span class="custom-control-indicator"></span>
<span class="custom-control-description">Boots</span>
</label>
Bootstrap Checkbox Field forms
Default checkboxes and radios are greatly enhanced upon with the support of
.form-checkDisabled checkboxes and radios are supported, still, to deliver a
not-allowed<label>.disabled.form-checkA brand-new component for the Bootstrap edition 4 framework is the launch of the so called customized form elements. These are the similar features we are familiar with in practicality but designated far more eye-catching and also in the Bootstrap manner. Having them you may add in some taste as well as style to your material by simply just delegating a handful of supplemental classes to the controls you include in your forms.
In order to apply custom checkboxes wrap them within a
<label>.custom-control.custom-checkbox<input>.custom-control-input<span>.custom-control-indicator.custom-control-descriptionConclusions
That's pretty much everything you must execute in order to include a checkbox component inside of your Bootstrap 4 powered web pages and put in a number of custom-made flavor to it adding in it a quality looks. Currently all you ought to do is repeat the practice unless you have actually examined all of the checkboxes wanted are currently on the web page.
Examine a couple of online video training relating to Bootstrap checkbox
Linked topics:
Bootstrap checkbox formal records
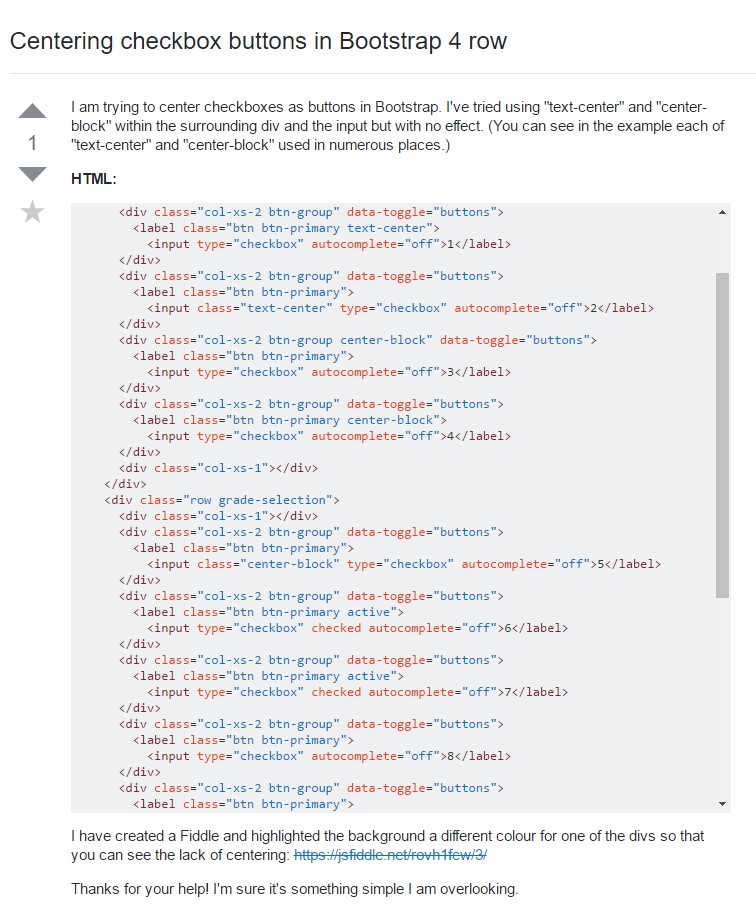
Centering checkbox buttons in Bootstrap 4 row
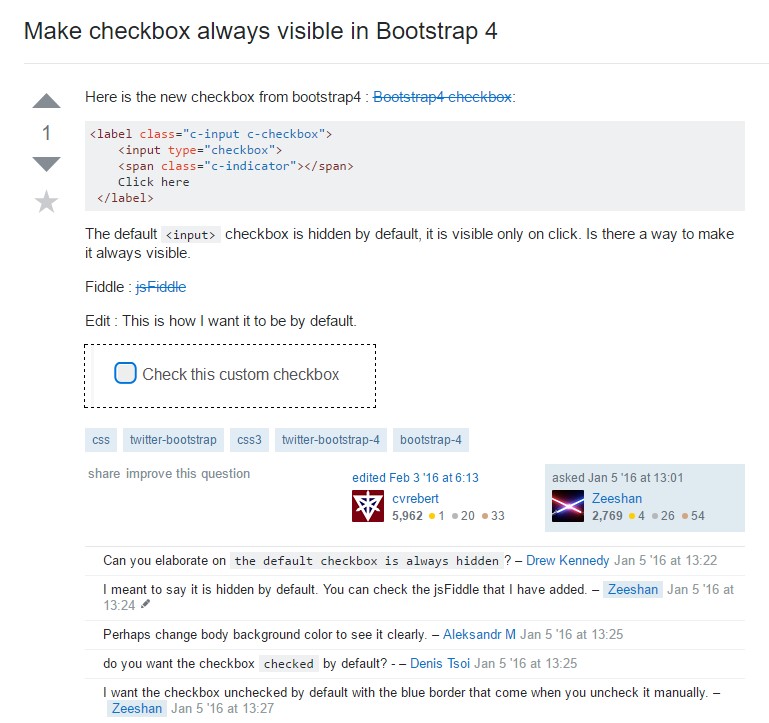
Make checkbox always visible in Bootstrap 4